![CapCut Pro Mod 10.7.0 APK 2023 [Premium Unlocked] Download](https://capcut.ws/wp-content/uploads/2022/07/cropped-iiicapcut.png)

High-quality videos enhance viewer engagement, convey professionalism, and deliver clearer messages. As well as, they captivate audiences, build credibility, and ensure optimal viewing experiences, leading to better communication and stronger impact. Moreover, if you want to convert normal video to high quality through CapCut, we have some simple steps for you.
Simple Steps for conversion in CapCut:
- Import:
- To convert normal video, open your project and import the video clip you want to enhance.
- Duplicate:
- Then, duplicate the video clip by copying and pasting it in the timeline. Also, this allows you to work on a separate copy.
- Sharpen:
- Select the duplicated clip, go to the Filters tab, and choose the Sharpen filter. Then adjust the sharpening level to enhance details, but be careful not to overdo it.
- Contrast and Brightness:
- Apply a Contrast filter to the duplicated clip and slightly increase contrast. You can also adjust brightness if needed.
- Export:
- Preview the enhanced clip to ensure the desired quality. Once satisfied, export the video in a higher resolution or quality setting.
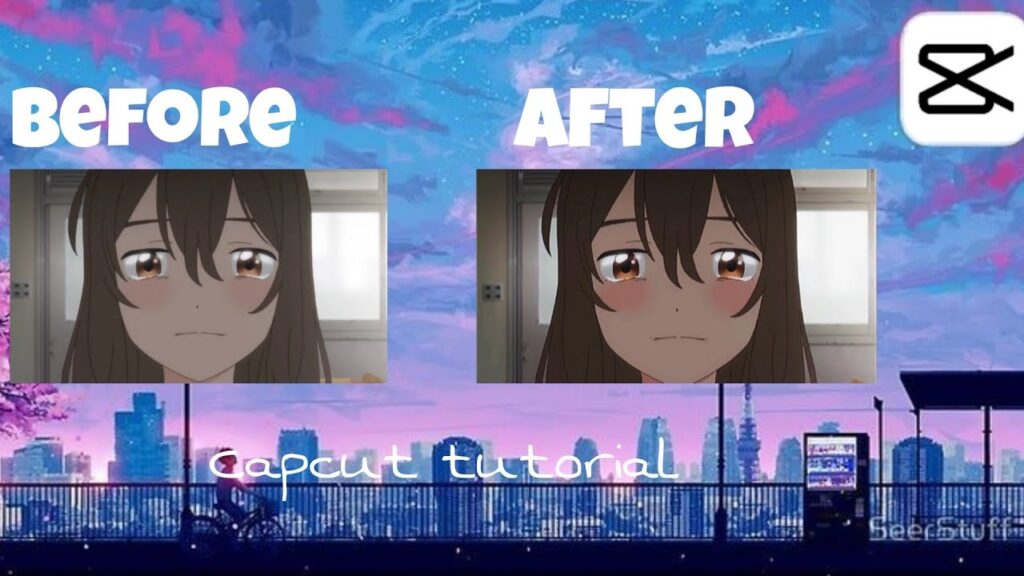
- Comparison:
- Compare the original and enhanced clips to gauge the improvement.
Some useful tips for normal video conversion
- Choose the right format.
- Optimize resolution.
- Maintain aspect ratio.
- Enhance lighting and color.
- Edit for brevity.
- Add subtle transitions.
- Improve audio quality.
- Consider mobile compatibility.
- Test playback on various devices.
- Save an original backup.